We came across Part 2 for Adobe After Effects. Master these tricks and in no time you will be a professional in using this software. Drop us a message if you want to know about this software.
We came across Part 2 for Adobe After Effects. Master these tricks and in no time you will be a professional in using this software. Drop us a message if you want to know about this software.

Adobe After Effects is a digital visual effects, motion graphics, and compositing application developed by Adobe Systems and used in the post-production process of film making, video games and television production. Among other things, After Effects can be used for keying, tracking, compositing, and animation

This technique is something that I developed ages ago when I was doing actual stop motion animation. I wanted there to be text in the scene, but I didn’t want it to stand out from the animated objects as digital and non-animated. I tried a lot of different things, like scanning the same bit of text drawn many different times — as well as a lot of other time-consuming experiments.
I found this method to be the most convincing, easiest to control, and (of course) time-saving.
Using a turbulent displace effect on your text or element, turn down the size and amount until you get something that looks natural. Then, animate the evolution a few frames at a time. Then, select the created keyframes, right-click them, and select Toggle Hold Keyframe.
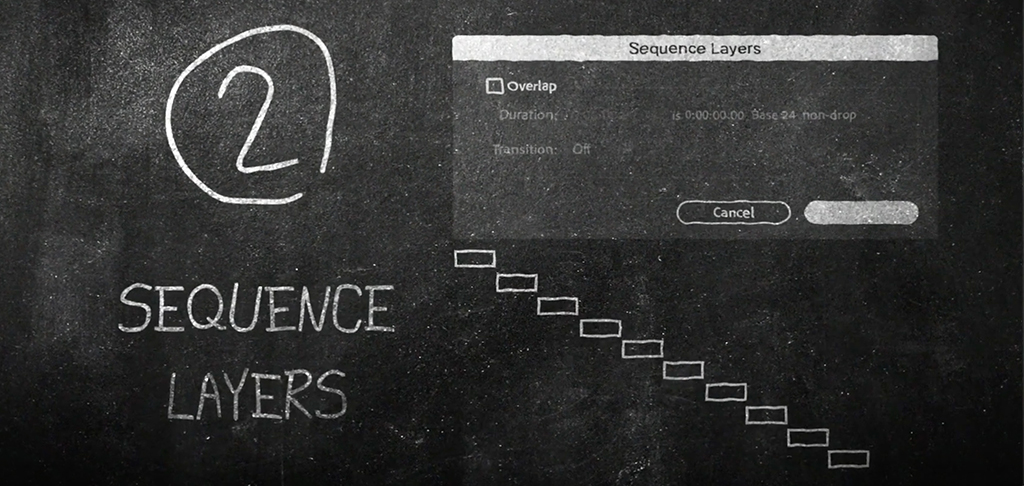
Often, you’ll find yourself with many layers that you want to play out sequentially (i.e. when one finishes, you want another to start.) A good example of this is a photo slideshow. However, you’ll certainly run into this need in other situations too. It can be frustrating to move layers around one by one, hoping they snap into place just right.
Luckily, there is a way to do it automatically with a few clicks.
Select your layers from top to bottom, or bottom to top (depending on your project), and navigate to the Animation tab, then go to Keyframe Assistant, and Sequence Layers. There are also other options like adding dissolves and overlap between layers.
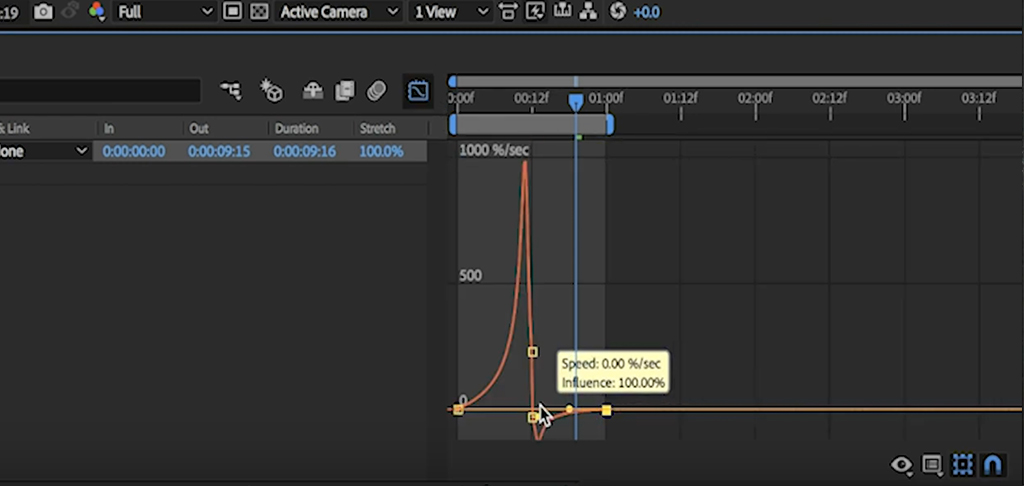
There are a lot of great plugins and scripts for adding spring and bounce to your keyframes. Ease and Wizz is one of my favorites, if you’d like to go that route.
However, sometimes it’s just as easy to do it yourself with a few keyframes. This method is really simple; it basically just requires making a keyframe for your final resting position, then making a keyframe for the starting position. Now, all you do is make a keyframe in the middle of those, where your object goes a little bit further past its final resting position. Then, smooth the keyframes on both sides of that middle keyframe. Boom. Quick, bouncy transition.
You can customize the amount of spring in the animation by moving the middle keyframe around.
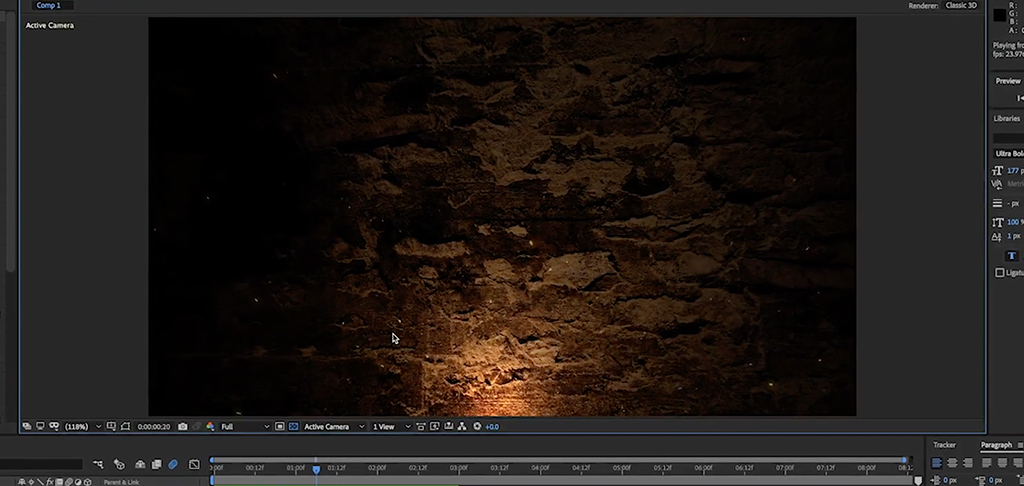
Coming from a trailer-editing background, one of the first things I learned was using particle emitters to create embers and various weather effects.
It feels different every time you do it, and for some reason certain settings won’t always work — and then sometimes they do. It takes a lot of fine-tuning and experimentation with various settings.
In this case, I just used the twirl animator and some really small particles and very little negative gravity to pull off the look I was going for. Get your hands dirty and play around with the settings to get the look that you want.
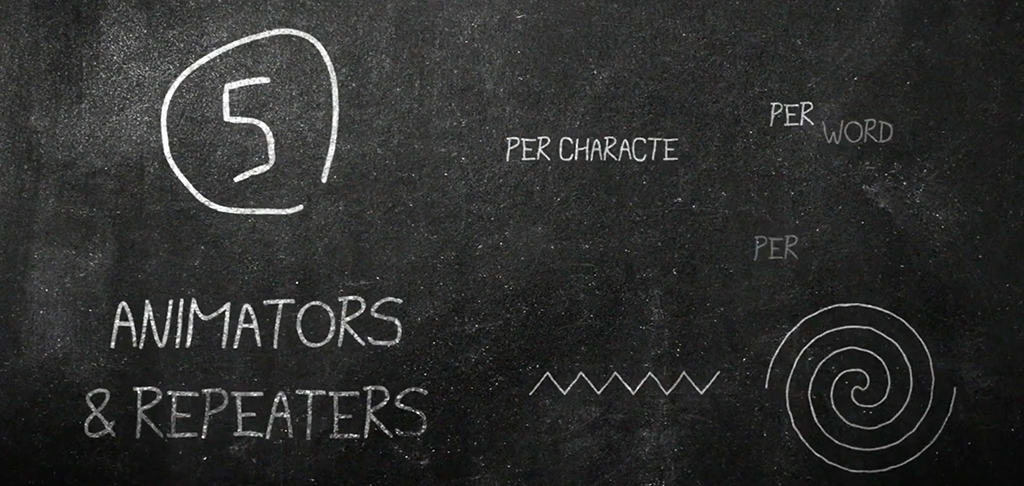
This is a little section within the After Effects interface that a lot of people don’t find for a while. Hidden under a little button when you toggle the little dropdown next to a text element or shape layer, the animator/add button will open a whole new world of possibilities.
With just a few clicks, you can have a perfect text reveal, swirl, zig zag, or speed line — and quite a few others. With repeaters, you can quickly create many copies of a shape and create grids and bulleted lists — and all of it is keyframe-able.
There are a lot of really cool and interesting uses for these animators.
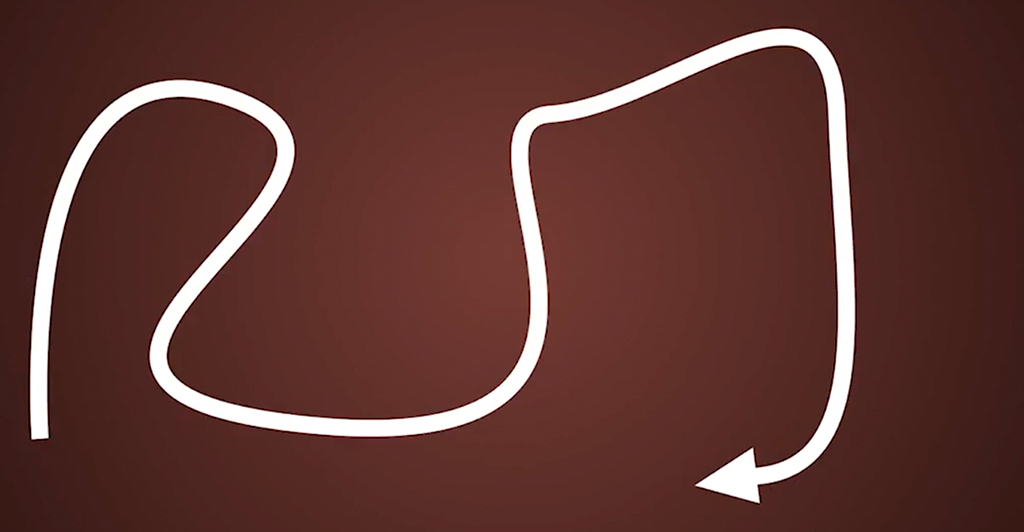
Animating arrows in AE should be easier than it is, but if you know . . . you know.
To make a quick-and-easy animation where an arrow (or really any object or shape) follows a path, all you need to do is make a line with the pen tool. Then create your shape that you’d like to follow the path. Open up the contents for your line layer, and click on the “path” dropdown. Then copy the path. After you’ve copied the path, you can paste it to the position of your arrow or shape layer.
Now, select your arrow or shape layer, and right-click it — then select Transform > Auto Orient > Orient Along Path. Now your arrow will rotate and orient itself according to the path.

I often find that After Effects users don’t make enough use of animation presets. Especially with methods or effects that they use often. You’ll be very surprised to see how much quicker it is to save an animation preset instead of fumbling around with settings every time you need a specific look that you’ve done before.
To save a preset, all you need to do is select your effects in the effects controls panel, then go to the Animation tab and select Save Animation Preset. Before long, you’ll have a whole library of time-saving effects saved up and at the ready.
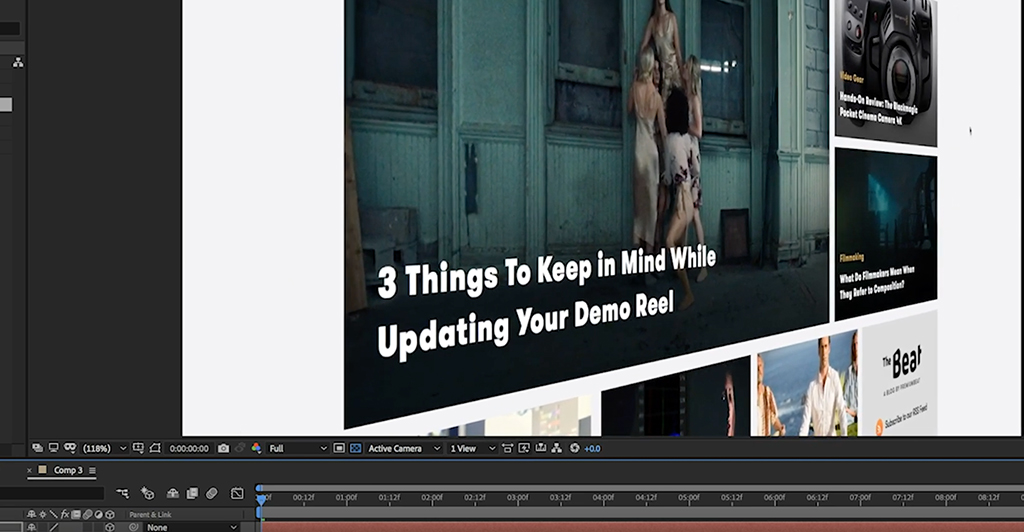
As a motion graphics designer, you’ll often need to include screen captures in your animations. Often, they will be big, long, and aesthetically boring pieces of footage, and the last thing you want to do is just “Ken Burns effect” your way out of it with a slow, growing animation.
What I like to do is add a little bit of a 3D parallax element to my screen captures. Using the 3D camera, you can add some depth of field and blur — and some more cinematic and intriguing movement.

Sometimes, you need to motion-track a shot that lacks contrast. As I’m sure you’re aware, most of the time the motion tracker is looking for points of contrast. So, for a difficult shot, it helps to add contrast before you track it.
However, if you add any effects to a shot before tracking, the tracker will disregard those effects. To bypass this, I always precompose the shot and select move all attributes. Then, in your pre-comped version of the shot, you can add your contrast. (I always use a really intense curves effect.)
After you’ve done your tracking, you can delete the contrast out of the pre-comp, and you’ll almost always have a much better result.
1,637 total views, 2 views today